PRETTY THINGS: DIY

  1. Handmade folded notebooks are a must for every creative notebook lover.  (source)
  2. Glass etched decanter.  I love the triangle design!  (source)
  3. The only things that worries me about this chain camera strap, is how comfortable this could possibly be.  I’d love to try it though, it looks fabulous!  (source)
  4. Origami bows made out of magazine pages.  (source)
  5. Bored of your regular plastic camera?  Give it a makeover!  (source)
  6. Pop up polaroid card: seems perfect for an invitation.  (source)
  7. A colorful makeover for your everyday pots and dishes. (source)
  8. Braided bead bracelet.  I’ve been making bracelets like crazy lately, this one’s next on my to do list!  (source)
  9. More DIY camera straps!  (source)`

Follow me on bloglovinfacebook, flickr and tumblr.
 

PRETTY THINGS: to do yourself

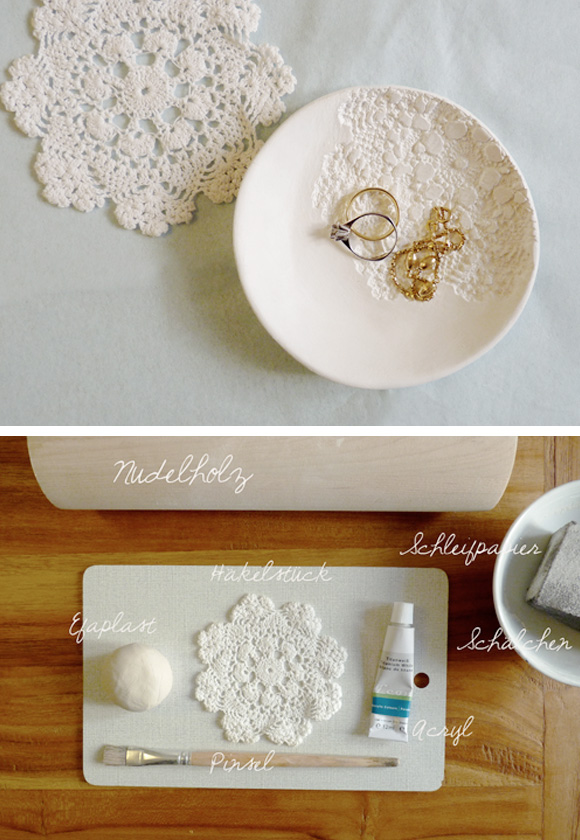
1.  Pretty bowl with a doily print.  Do it yourself here. (source)

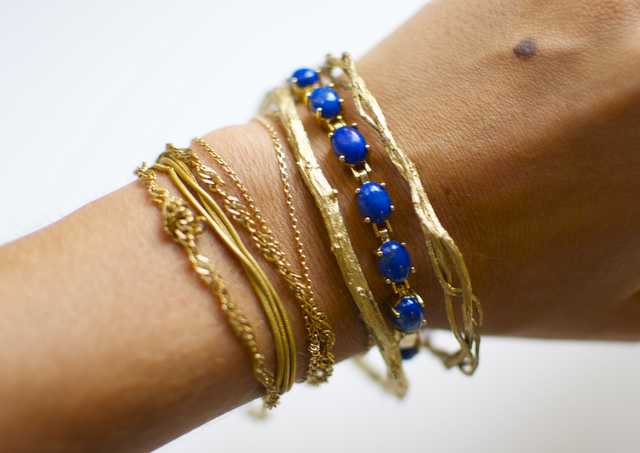
2.  Pretty bangles made out of twigs.  Do it yourself here.

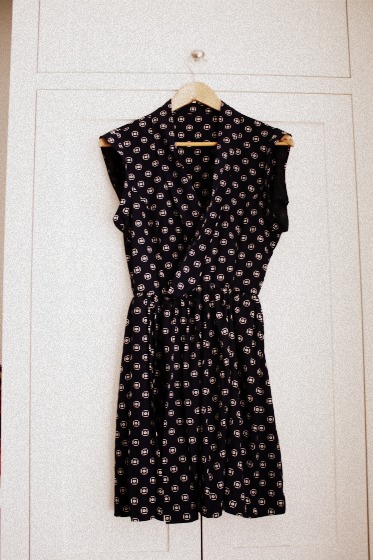
3.  Pretty calendar with your favorite photos. Do it yourself here.4.  Pretty wrap dress.  Do it yourself here.

5.  Pretty leather collar.  Do it yourself here.  (I’m considering saving up for the real thing by Col Claudine, but I might have to try this one first…)

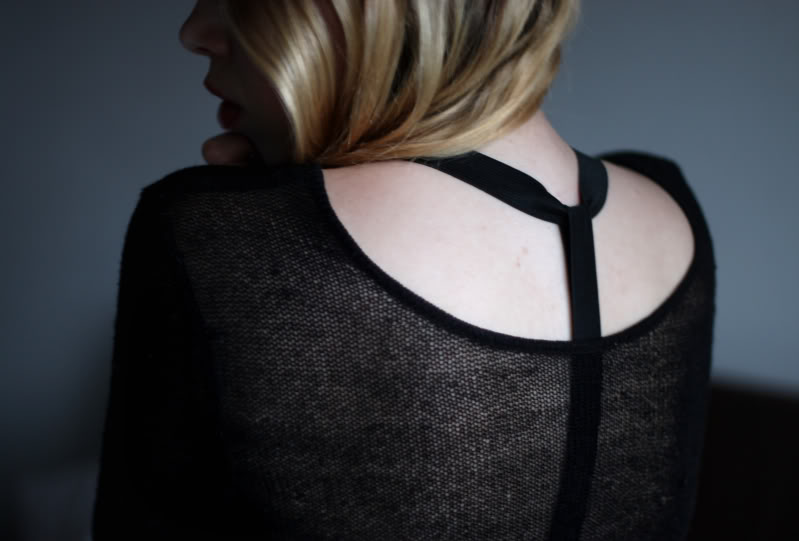
6.  Pretty T-strap bra.  Do it yourself here.

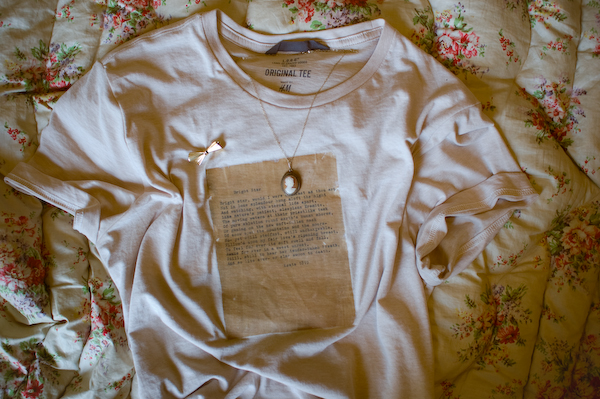
7.  Pretty printed t-shirt.  Do it yourself here.

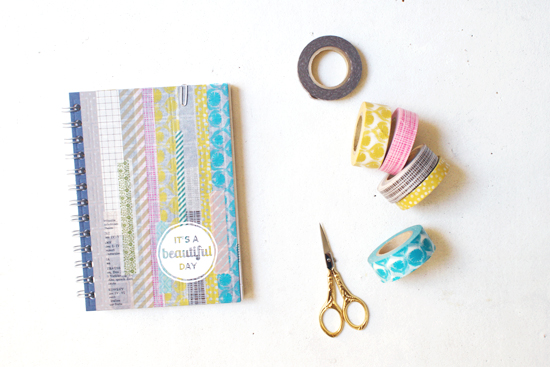
8.  Pretty notebook.  Do it yourself here.

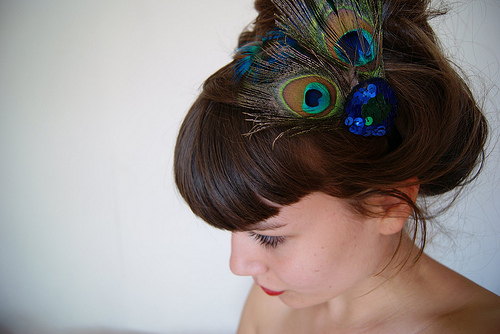
9.  Pretty headband.  Do it yourself here.

Follow me on bloglovin, flickr and tumblr.

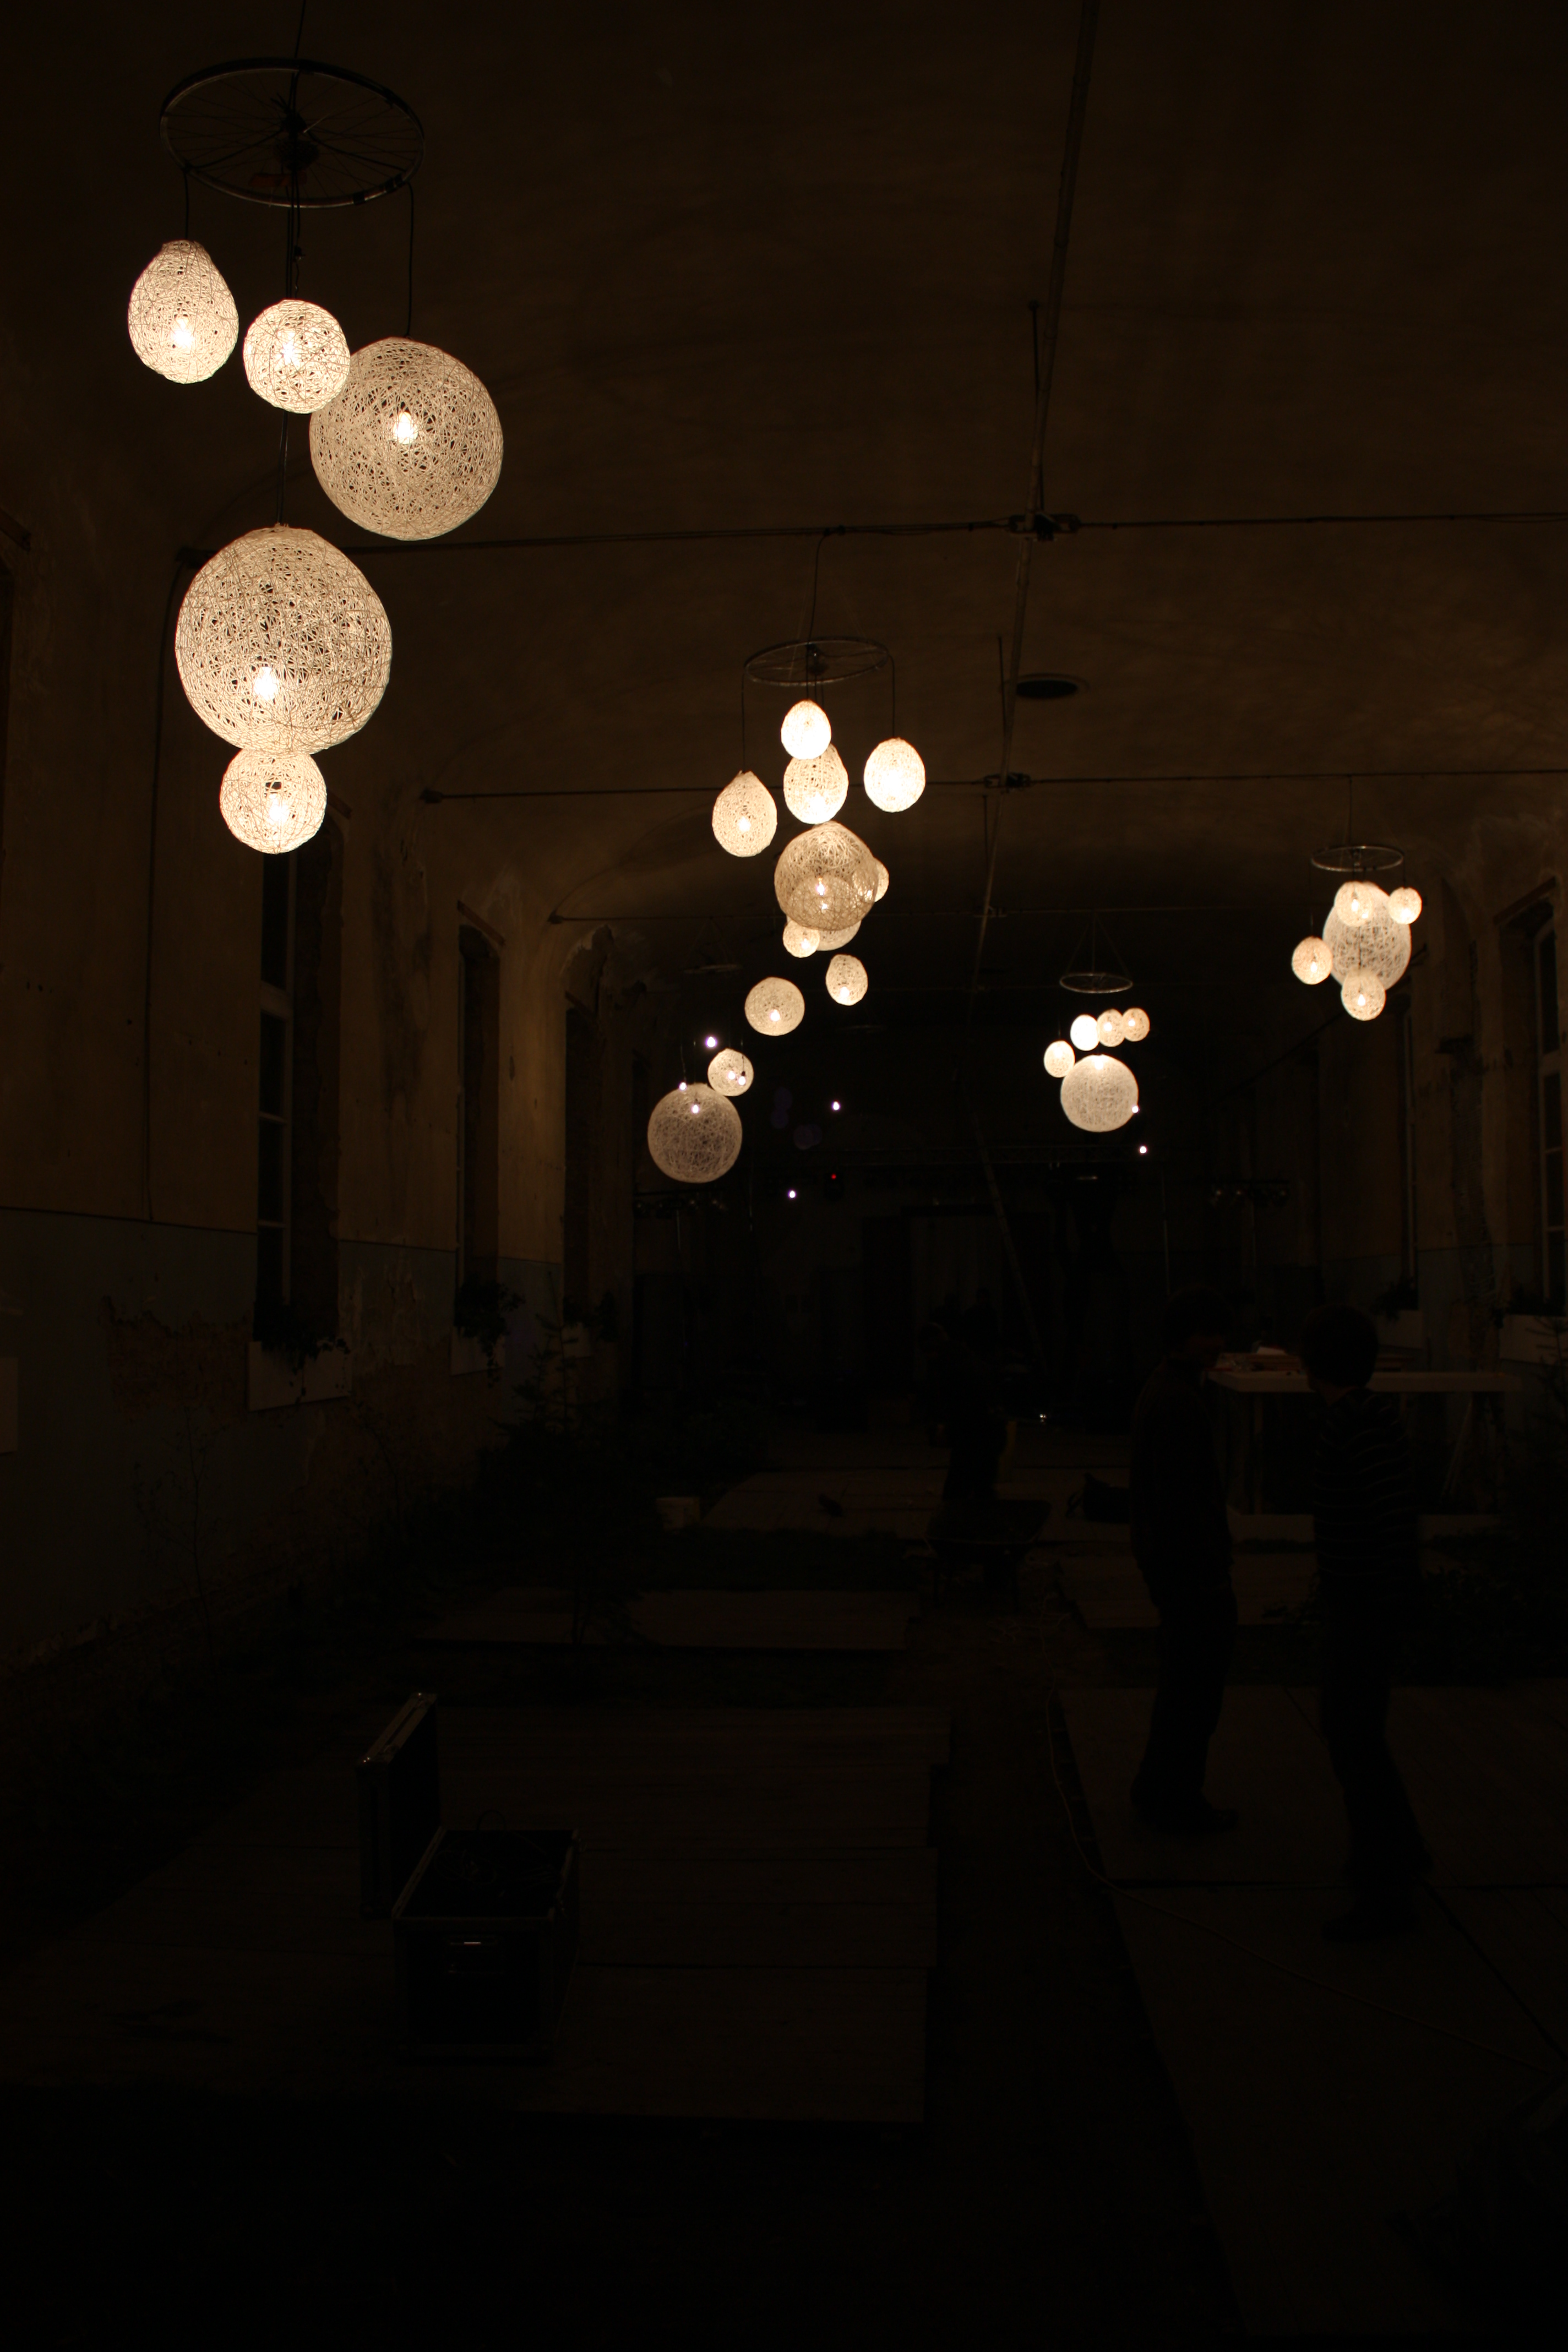
DIY: Existenz’ light elements

what you need:

  • an inflatable ball, something like a balloon or a beach ball, depending on the shape and size you want (we had beach balls with diameters up to 1m)
  • vaseline
  • wallpaper paste
  • a ball of white wool
  • lamp socket, lamp, etc.  (I’m not the biggest hero when it comes to electricity)

what to do:

  • inflate the ball to the maximum and hang it somewhere, where you can easily move around it
  • cover the ball with vaseline, this will make it easier to remove the ball afterwards
  • drench the white wool in the wallpaper paste and start twisting it around the ball, you need to make sure the circles are always around the biggest diameter of the ball, the threads that go around the entire ball will give the needed strength
  • keep circling the ball until the only spots that aren’t covered are triangles of about 3cm wide, our experiments have prooven that this is what you need to get a firm construction
  • let it dry for 24 hours
  • carefully let the ball deflate and get it out of the woolen sphere
  • insert the lamp socket and lamp, and try attaching it  (you might have to be a little bit creative here, sometimes you can find a hole in the construction that can lock in the lamp socket, or you might have to you use some wire or something else)
  • … and your arty farty light element is done!

If you have the space for such a big light element, you can attach several spheres from different sizes to a bike wheel, like we’ve done here.  But you can just drop the bike wheel and use one sphere as an eyecatcher in your room.

BRANCH

Over a year ago I started redecorating my room at home, and it’s finally looking finished (although I think it never will be, I feel the need to change things up once in a while).  I’ve promised you pictures and when I get home for christmas, I will certainly take some photographs and post it on the blog.  In the meantime: some inspiration.

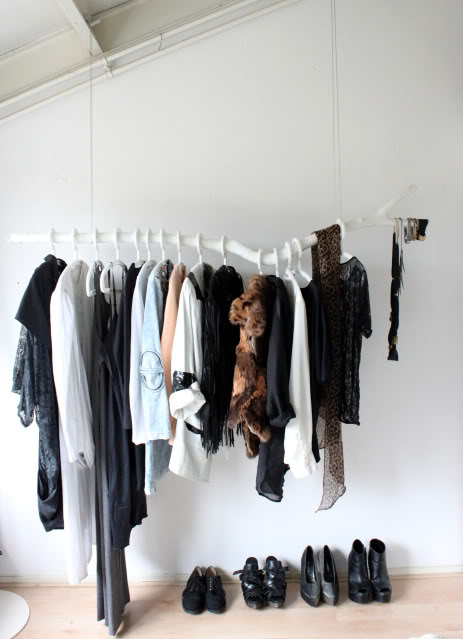
This beautiful clothing rack is a DIY by Ivania from Love aesthetics. Unfortunately there’s no way I can do this myself, as I have no space to hang it, but I will definitely keep this in mind for when I move out, someday.
You can find more pictures and a how-to here.

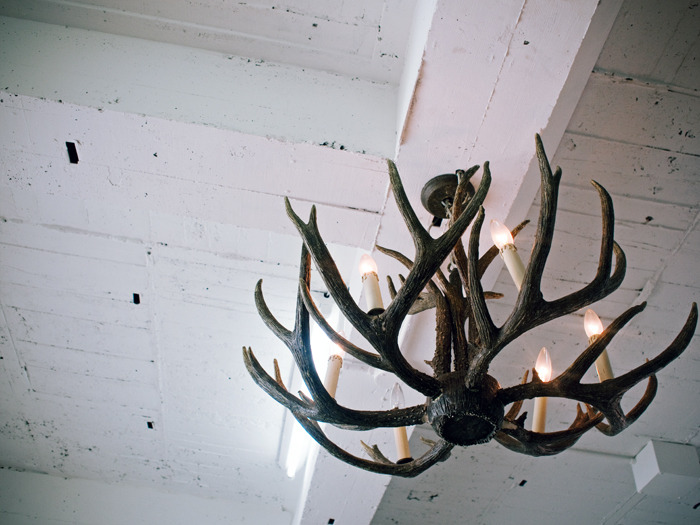
I also wanted to share this beautiful antler chandelier,  found on the set of Rumi’s fashionshoot for Sweet magazine.